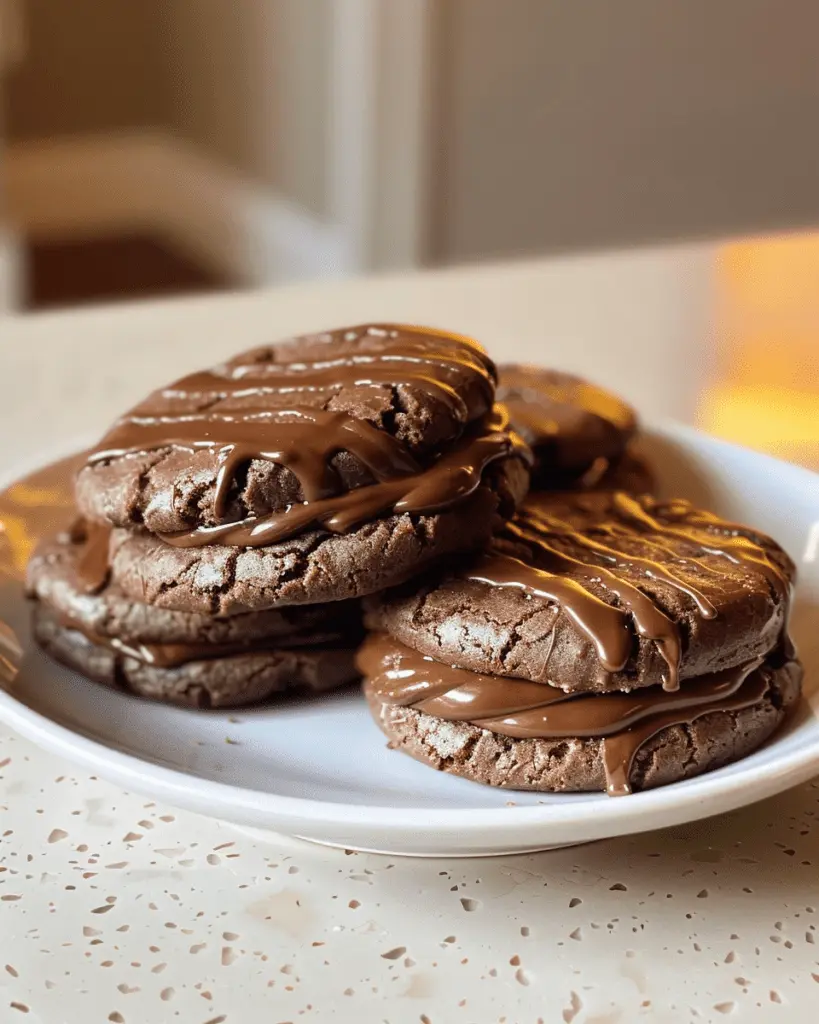
If there’s one treat that takes me straight back to childhood, it’s a fudge round. You know, those little chocolaty delights that never fail to bring a smile to my face and make the kids gather around the kitchen like it’s a magic show? Making this homemade version has been a game changer in our house, especially on those days when we need a sweet pick-me-up or a quick after-school snack.
The best part? They’re ridiculously simple to whip up, and trust me, the taste is way better than the store-bought ones. So, whether you’re trying to impress your kids or just want to indulge in some nostalgia, this fudge round recipe is a must-try—and it’s just as satisfying to make as it is to eat!
Table of Contents
Why You’ll Love This Fudge Round Recipe
If there was a way to bottle nostalgia, these fudge rounds would be it! This fudge round recipe brings all the chocolatey goodness of the store-bought kind right to your kitchen—without the mysterious ingredients. Here’s why you’ll want to dive headfirst into this delightful treat:
Decadently Chocolatey: Seriously, each bite is a rich, chocolatey explosion that makes life a little sweeter. It’s like a hug for your taste buds!
Easy as Pie (Er, Fudge): With straightforward steps and just a handful of ingredients, you won’t need a culinary degree or a kitchen full of gadgets. It’s the perfect way to indulge when the craving hits!
Perfect for Kids & Adults Alike: My kids go bonkers for these, and I might just have a few hidden in the back of the pantry—for “emergencies.” A fresh batch of fudge rounds is sure to bring out everyone’s inner child.
Customizable Fun: Want to add a sprinkle of sea salt or a dash of peanut butter? Go for it! This recipe is super flexible. You can make it your own (and then totally take all the credit!).
A Make-Ahead Dessert: These fudge rounds store like a dream, which means you can whip up a batch on the weekend and enjoy them all week long. Just try to keep your family from diving in too soon—you might need to hide some!
Ingredients for Fudge Round

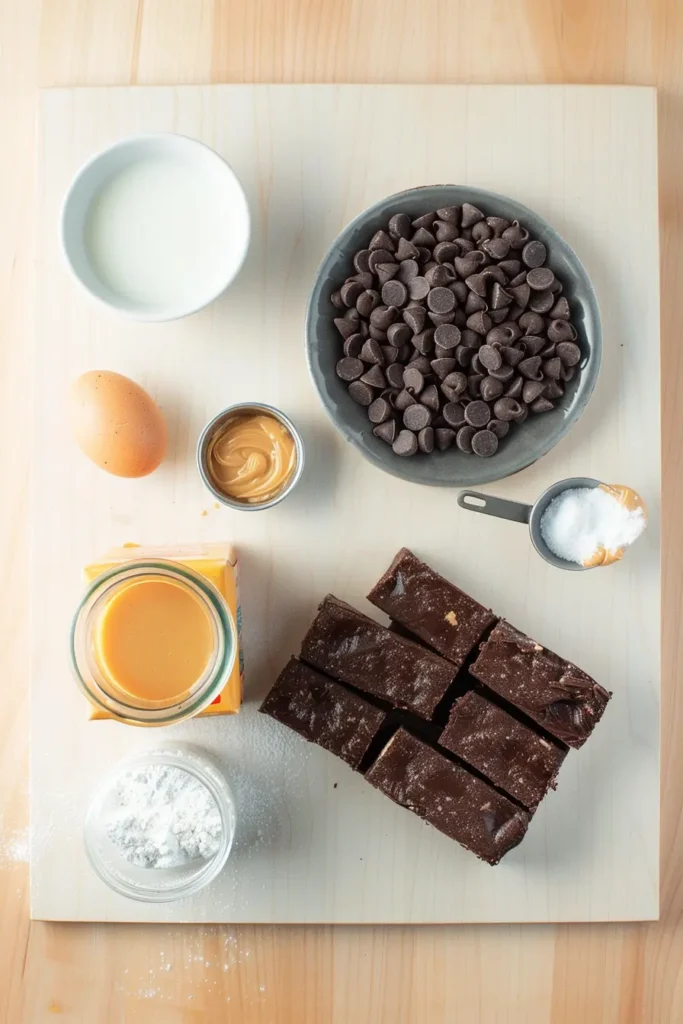
Alright, let’s dive into the delicious world of homemade fudge rounds! Here’s your simple ingredient list to help you make this nostalgic treat. Grab your apron and let’s get started!
- Chocolate cake mix: This is your base! No judgment here—box mixes make life easier and taste great. Plus, they’re like a hug in dessert form.
- Eggs: You’ll need a couple of these to help bind everything together and make the cake nice and fluffy.
- Vegetable oil: Adds moisture to your cake and ensures a lovely texture. Don’t even think about using olive oil here; we want that classic fudge round vibe!
- Milk: A splash of milk brings everything together. Almond milk works too if you’re on that kick!
- Semi-sweet chocolate chips: These are the secret to those gooey fudge centers. The more, the merrier!
- Creamy peanut butter: You can’t have a fudgy round without that rich, nutty flavor. Go ahead—use the good stuff!
- Powdered sugar: This helps create that sweet frosting. Trust me; it’s the cherry on top of these beauties.
- Vanilla extract: Just a splash to amp up the flavor. It’s like the magic fairy dust of baking!
- Salt: You’ll want a pinch of this to balance the sweetness. It really does wonders!
Pro Tip: If you don’t have chocolate chips, chopped nuts or even a drizzle of caramel could make a fun twist!
So there you have it—your ingredient lineup for a homemade fudge round that’ll make your inner child squeal with joy! Let’s turn those simple ingredients into something truly fabulous.
How to Make Fudge Rounds
This fudge round recipe is your ticket to homemade bliss that’ll have you saying goodbye to overpriced store-bought snacks! Seriously, if you’ve ever dreamed of indulging in those soft, chocolatey treats, this is easier than you think. Plus, your family will be begging for more!
Let’s get started:
- Preheat your oven. Set it to 350°F (175°C). This ensures your fudge rounds bake evenly and get that perfect texture.
- Gather your ingredients. In a large mixing bowl, combine 1 cup of all-purpose flour, ½ cup of cocoa powder, ½ teaspoon of baking soda, and a pinch of salt. Whisk them together until they look like a delicious brown cloud. Don’t worry; this step is a piece of cake (or, well… chocolate)!
- Cream the butter and sugar. In a separate bowl, use an electric mixer to beat together ½ cup of softened butter and 1 cup of granulated sugar until it’s light and fluffy. It should take about 2-3 minutes. Feel free to take a moment to admire your handiwork. This is your time!
- Add the wet ingredients. Crack in 1 large egg and stir in 1 teaspoon of vanilla extract. Mix until everything is combined and smooth—you want it to look glossy and delightful.
- Combine the dry and wet ingredients. Gradually add the flour mixture to your wet ingredients, mixing just until combined. Don’t overdo it! We want those fudge rounds to be soft and chewy, not dense like a brick.
- Scoop the dough. Using a cookie scoop (or just a tablespoon if you’re feeling rebellious), drop tablespoon-sized portions of dough onto a parchment-lined baking sheet, spacing them about 2 inches apart. You’re basically creating fudge round clouds here!
- Bake to perfection. Pop those beauties into your preheated oven and bake for 8-10 minutes. The edges should look set, but the centers will still be a bit soft. Trust me—they’ll firm up as they cool!
- Cool it down. Once baked, let the fudge rounds rest on the baking sheet for 5 minutes before transferring them to a wire rack to cool completely. Try to resist the urge to devour them right away—though I won’t blame you if you take a sneaky bite!
- Optional: Add the filling. If you’re feeling fancy, whip up some marshmallow fluff or a simple buttercream to spread between two fudge rounds for the ultimate treat. Because why not go for the full experience, right?
- Serve and savor. Grab a glass of cold milk (or coffee, if that’s your jam), and enjoy your homemade fudge rounds with your family. Trust me, you’ll feel like a snack superhero!
And there you have it! These fudge rounds are perfect for school lunches, snack time, or just because you deserve something sweet.
What to Serve with Fudge Rounds
Alright, friends, let’s talk about my homemade fudge rounds. They’re rich, chocolatey, and totally worth every bite! But sometimes you need a little something to go with them, whether it’s for a fun dessert spread or just to bring a bit of balance to all that fudge. Here are some delightful pairings that will make your fudge rounds even more fabulous:
- Vanilla Ice Cream: Because what’s better than a warm fudge round? A warm fudge round with a scoop of vanilla ice cream melting on top! Trust me, it’s a match made in dessert heaven.
- Fresh Berries: Light and refreshing, a handful of strawberries or raspberries adds a beautiful pop of color and a tart contrast that perfectly balances the sweetness of the fudge.
- Coffee: A steaming cup of coffee (or a fancy mocha, if you’re feeling extra) is the ultimate companion for fudge rounds. The rich flavors complement each other, and it’s a great way to fuel your post-dinner chat.
- Peanut Butter Drizzle: If you want to take indulgence up a notch, a little drizzle of warm peanut butter over your fudge round will make it feel like a fancy dessert you’d find at a café. Seriously, it’s a real treat!
- Milk: Going classic? A tall glass of cold milk (or whatever your family prefers!) will wash down those fudgy bites and is sure to please the picky eater and garbage disposal alike.
There you have it! Fudge rounds are a delight on their own, but add one of these sides, and you’ve got the makings of a perfect treat. Now, go forth and indulge!
How to Store Fudge Rounds

Got some leftover fudge rounds? You’re in for a treat! Here’s how to keep this deliciousness fresh and tasty:
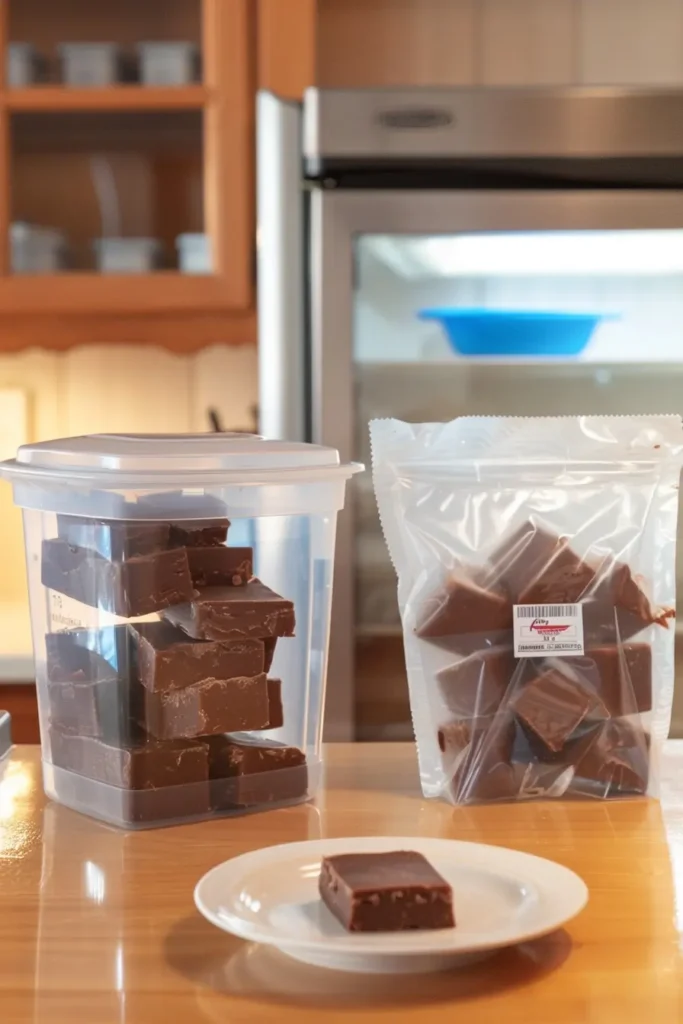
Refrigerate: Store your fudge rounds in an airtight container in the fridge for up to a week. They’ll stay nice and soft, ready for a sweet snack anytime!
Freeze (if you can resist!): If you’ve got extras, freeze those bad boys! Wrap each fudge round in plastic wrap and then pop them in a freezer bag. They’ll be good for up to 3 months. Just let them thaw in the fridge overnight when you’re ready to indulge.
Reheat gently: If you want that fresh-baked taste again, warm them in the microwave for just a few seconds. No one wants a molten mess—just a little warmth will do the trick!
And there you go—easy peasy fudge round storage that keeps the sweetness alive!
FAQ for Fudge Round
Can I use a different type of chocolate for the fudge?
Absolutely! While semi-sweet chocolate is a classic choice, you can mix it up with milk chocolate for a sweeter treat or dark chocolate if you prefer something a bit richer. Just remember to adjust the sugar if you go darker!
What can I substitute for marshmallow fluff?
Lost your fluff? No worries! Here are a couple of great substitutions:
- Marshmallows: Melt about 2 cups of mini marshmallows in place of fluff—just let them cool slightly before mixing in.
- Cream cheese: Mix one part cream cheese with two parts powdered sugar for a tangy twist.
How do I keep my fudge rounds from sticking to the pan?
This is a crucial question! To avoid those heart-stopping sticky moments:
- Use parchment paper: Line your baking dish with it to create a non-stick surface.
- Spray it: A light coat of cooking spray helps, too!
- Cool completely: Make sure to let them cool in the pan for a bit before transferring to a cutting board.
Can I make these fudge rounds ahead of time?
You bet! These treats can easily be made ahead. Just store them in an airtight container at room temperature for up to a week, or freeze them for longer storage. Just remember to wrap them up nice and snug if you’re freezing—no one likes freezer burn!
Any fun add-ins I can throw in?
Absolutely! Let’s get creative! Here are some delicious add-ins:
- Crushed pretzels: For that sweet-and-salty combo.
- Chopped nuts: Like walnuts or pecans for a crunchy texture.
- A splash of vanilla or almond extract: It’ll take your fudge rounds to the next level!
Now grab your ingredients, put on your favorite music, and let’s whip up some fudge rounds that’ll have everyone asking for seconds (or thirds)!

Fudge Round
Who doesn’t love a good fudge round? These delightful, chocolatey treats bring back all the nostalgic feelings of childhood snacks, but here’s the kicker—you can whip them up at home! Get ready for a little baking fun that’s way easier than you think. Plus, they’re perfect for sharing (or hiding from the kids, no judgment here!).
Ingredients
1 cup unsweetened cocoa powder – For that rich, chocolatey flavor.
1 ½ cups all-purpose flour – The base of your cookie!
1 teaspoon baking soda – Helps those cookies rise.
½ teaspoon salt – A little pinch to bring out the sweetness.
1 cup unsalted butter, softened – The magic ingredient for that melt-in-your-mouth texture.
2 cups granulated sugar – Because we all need a bit of sweetness!
2 large eggs – Binds everything together and adds moisture.
2 teaspoons vanilla extract – Adds a lovely note of flavor.
1 cup fudge sauce – For the delicious filling (store-bought is totally fine!).
1 cup powdered sugar – For dusting (if you’re feeling fancy).
Instructions
Preheat the oven. Start off by preheating your oven to 350°F (175°C). Time to get that kitchen warm and inviting!
Mix the dry ingredients. In a medium bowl, whisk together the cocoa powder, flour, baking soda, and salt. Set aside. (You can use a fork—no fancy tools necessary!)
Cream the butter and sugar. In a large bowl, beat the softened butter and granulated sugar together until light and fluffy. (Feel free to use a hand mixer, but a good old spoon will work too—get those arm muscles going!)
Add the eggs and vanilla. Beat in the eggs, one at a time, then stir in the vanilla extract until well combined.
Combine the mixtures. Gradually add the dry mixture into the wet ingredients, stirring just until combined. Don’t overdo it! A few lumps are okay.
Scoop and bake. Drop tablespoonfuls of the dough onto ungreased baking sheets, leaving space between them. Bake for 8-10 minutes, or until they’re slightly firm to the touch. (Quick tip: They’ll continue to firm up as they cool, so don’t overbake!)
Cool down. Let those babies cool on the baking sheets for about 5 minutes, then transfer them to wire racks to cool completely.
Fill with fudge. Once cool, spread a generous amount of fudge sauce on the bottom of half the cookies and sandwich with the other half.
Dust with powdered sugar. If you want to give them a little more pizzazz, dust the tops with powdered sugar.
Serve & enjoy. Grab a glass of milk (or coffee, no judgment) and dig in! Store leftovers in an airtight container—if there are any left to store!
Notes
Fudge Sauce Shortcut: Don’t feel like making fudge sauce? Just grab a jar from the store—no one will know!
Storage: These are even better the next day, so feel free to make them ahead of time.
Make It Your Own: Feeling extra? Add a sprinkle of sea salt on top for that sweet and salty combo we all crave!
Keywords: fudge round


