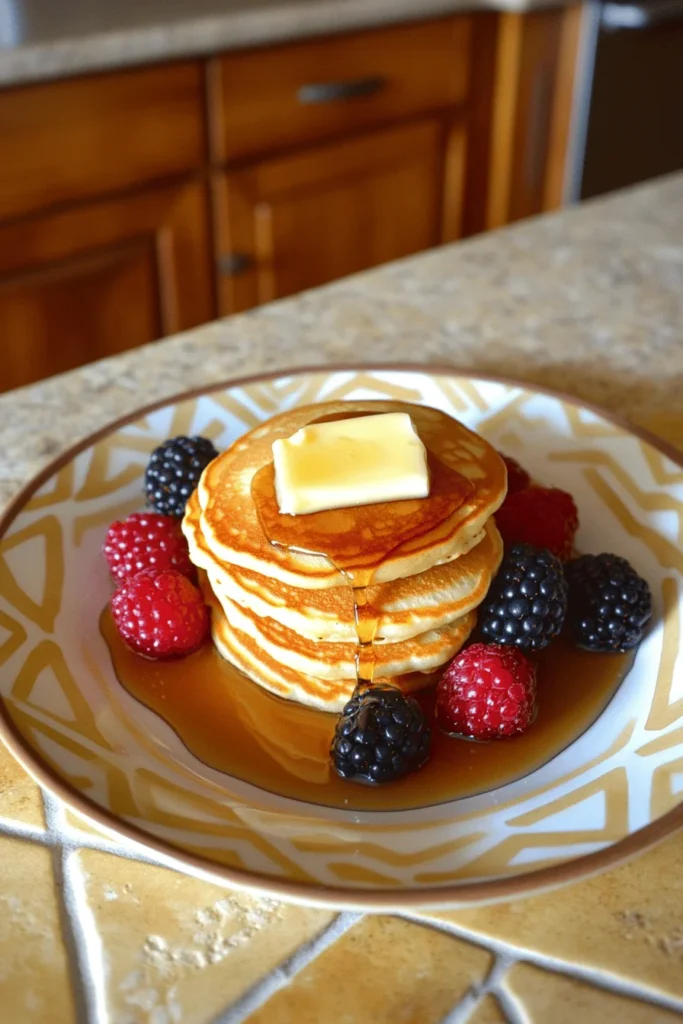
Hey there, fellow pancake lovers! I’m Lisa, and if there’s one thing I know, it’s how to make a simple meal that brings joy to the whole family. Today, we’re diving into the wonderful world of mini pancakes! These little delights are perfect for kids and adults alike. They’re not just for breakfast either; think snacks, desserts, or even a fun brunch option. This guide is your one-stop resource for achieving perfectly fluffy mini pancakes every single time. Get ready to master the art of making these adorable, bite-sized treats that are sure to become a family favorite. Whether you call them silver dollar pancakes, or tiny pancakes, prepare for deliciousness!

Table of Contents
What Makes Mini Pancakes So Appealing?
Okay, let’s be real – why do we all love mini pancakes so much? Well, there are tons of reasons. For starters, portion control is a breeze. It’s easier to manage how much you’re eating (or how much your kids are eating!). They’re also incredibly fun, especially for little ones. My daughter, Sophia, absolutely adores them! Plus, they cook up super quickly, which is a lifesaver on busy mornings.
And let’s not forget about versatility. You can dress them up with just about anything – fruit, syrup, chocolate chips, whipped cream… the possibilities are endless! They’re great as a sweet treat or as part of a balanced breakfast. I’ve even used them as a base for mini dessert canapés at parties!
A Brief History of Pancakes (and Their Mini Cousins)
Pancakes have been around for centuries, believe it or not! Ancient civilizations were making flatbreads cooked on hot stones. Over time, these evolved into what we know today as pancakes. As for mini versions, their popularity has grown alongside our love for all things cute and convenient. Who can resist a miniature version of a classic?
Cultural Variations: Poffertjes and Beyond
Speaking of variations, did you know that different cultures have their own takes on mini pancakes? One popular example is Dutch poffertjes. These are small, fluffy pancakes traditionally made with yeast and buckwheat flour, giving them a unique flavor and texture. They’re often served with butter and powdered sugar – yum!
Are Blinis the Same as Pancakes?
Now, you might be wondering if blinis are the same as mini pancakes. While they’re similar in size and shape, there are some key differences. Blinis typically use yeast and buckwheat flour, giving them a more savory flavor and a slightly different texture than your standard mini pancake. They’re also often served with savory toppings like smoked salmon or caviar. So, while they’re both small and delicious, they’re definitely not the same thing.
Gathering Your Mini Pancake Ingredients
Alright, let’s talk ingredients! The beauty of mini pancakes is that you probably already have everything you need in your pantry. Here’s a quick rundown of the basics:
- Flour: This forms the base of our batter.
- Sugar: Adds a touch of sweetness.
- Baking Powder: This is what makes our pancakes nice and fluffy.
- Milk: Adds moisture and helps create a smooth batter.
- Egg: Binds everything together and adds richness.
- Butter/Oil: For greasing the pan and adding flavor.
- Salt: Just a pinch to enhance the other flavors.
Different Types of Flour and Milk
Now, let’s dive a little deeper. When it comes to flour, all-purpose flour is your go-to for classic pancakes. But if you’re looking for a gluten-free option, you can use a gluten-free blend. Just keep in mind that gluten-free pancakes might be a bit denser, so you might need to adjust the liquid in your batter.
As for milk, you can use dairy or non-dairy options like almond milk, soy milk, or oat milk. I often use almond milk because that’s what I usually have on hand. The type of milk you use can slightly affect the flavor and texture of your pancakes, so feel free to experiment!
The Role of Each Ingredient
- Flour: Provides structure.
- Sugar: Adds sweetness and helps with browning.
- Baking Powder: Creates air bubbles for a light and fluffy texture.
- Milk: Adds moisture and helps create a smooth batter.
- Egg: Binds the ingredients, adds richness, and contributes to the structure.
- Butter/Oil: Prevents sticking and adds flavor.
- Salt: Enhances the other flavors.
What are the Small Pancakes Called?
You might hear these little guys called by different names, like silver dollar pancakes, mini pancakes, or even tiny pancakes. No matter what you call them, the basic recipe stays the same. It’s all about the size and the fun factor!
Step-by-Step Guide to the Perfect Mini Pancake Batter

Okay, let’s get to the fun part – making the batter! Here’s my foolproof, step-by-step guide:
- Combine Dry Ingredients: In a large bowl, whisk together the flour, sugar, baking powder, and salt.
- Combine Wet Ingredients: In a separate bowl, whisk together the milk, egg, and melted butter or oil.
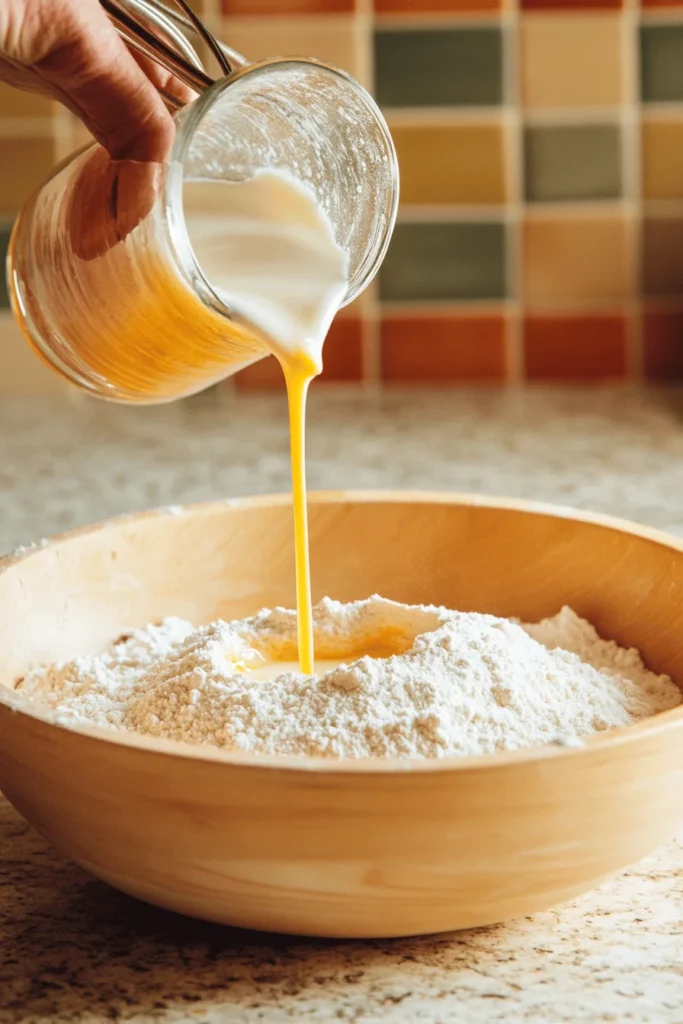
- Combine Wet and Dry: Gently pour the wet ingredients into the dry ingredients. Stir until just combined. Be careful not to overmix! A few lumps are okay.
- Rest the Batter: Let the batter rest for 5-10 minutes. This allows the gluten to relax, resulting in more tender pancakes.
Tips for Avoiding Overmixing
Overmixing is the enemy of fluffy pancakes! When you overmix, you develop the gluten in the flour, which can lead to tough, chewy pancakes. To avoid this, mix until the wet and dry ingredients are just combined. A few lumps are perfectly fine!
Adjusting Batter Consistency
Sometimes, your batter might be too thick or too thin. Here’s how to fix it:
- Too Thick: Add a tablespoon of milk at a time until you reach the desired consistency.
- Too Thin: Add a tablespoon of flour at a time until you reach the desired consistency.
Why Room Temperature Ingredients are Important
Using room temperature ingredients can help your batter come together more smoothly. Cold ingredients can sometimes cause the butter to solidify, which can result in a lumpy batter. If you forget to take your ingredients out of the fridge ahead of time, you can quickly warm them up by placing the egg in a bowl of warm water for a few minutes and microwaving the milk for a few seconds.
Resting the Batter: Why It Matters
Resting the batter is a crucial step for achieving tender, fluffy pancakes. During this time, the gluten in the flour relaxes, and the baking powder has a chance to activate. This results in pancakes that are light, airy, and melt-in-your-mouth delicious. I know it’s tempting to skip this step when you’re in a hurry, but trust me, it makes a big difference!
Mastering the Mini Pancake Cooking Process
Alright, the batter is ready, and it’s time to cook! Here’s how to master the mini pancake cooking process:
- Heat Your Cooking Surface: Preheat a griddle or non-stick pan over low heat. This is key to preventing burning and ensuring even cooking.
- Grease the Surface: Lightly grease the cooking surface with butter or oil. I prefer butter for the flavor, but oil works too.
- Pour the Batter: Pour small amounts of batter onto the hot surface. Aim for about 1-2 tablespoons per pancake.
- Cook Until Bubbly: Cook until bubbles start to form on the surface and the edges look set.
- Flip and Cook: Flip the pancakes and cook for another 1-2 minutes, or until golden brown.
- Keep Warm: Place the cooked pancakes on a plate and cover them with foil to keep them warm while you cook the rest of the batch.
Different Cooking Surfaces
- Griddle: A griddle provides even heat distribution, making it ideal for cooking pancakes. It also has a large surface area, so you can cook a lot of pancakes at once.
- Non-Stick Pan: A non-stick pan is a great option if you don’t have a griddle. Just make sure to use low heat to prevent burning.
- Electric Griddle: An electric griddle is convenient because you can control the temperature precisely. This helps ensure that your pancakes cook evenly.
Oil vs. Butter
I personally love using butter for the flavor it imparts, but oil works just fine too. If you’re using butter, be sure to use low heat to prevent it from burning. You can also use a combination of butter and oil for the best of both worlds.
Tips on Keeping Pancakes Warm
To keep your mini pancakes warm while you cook the rest of the batch, place them on a plate and cover them with foil. You can also keep them warm in a low oven (around 200°F) or in a warming drawer if you have one.
Focus on Even Cooking by Using Low Heat
The key to perfectly cooked mini pancakes is low and slow. Cooking over low heat ensures that the pancakes cook evenly and don’t burn. It might take a little longer, but the results are worth it!
Mini Pancake Variations: Beyond the Basics
Now that you’ve mastered the basic mini pancake recipe, let’s get creative! There are tons of ways to add flavor and texture to your tiny pancakes.
Flavor Boosters:
- Chocolate Chips: A classic addition that kids (and adults!) love.
- Blueberries: Add a burst of juicy sweetness.
- Bananas: For a touch of natural sweetness and a soft, moist texture.
- Sprinkles: Because who doesn’t love sprinkles?
- Spices: Cinnamon, nutmeg, or cardamom can add warmth and depth.
- Extracts: Vanilla, almond, or lemon extract can enhance the flavor.
Savory Options:
Believe it or not, mini pancakes can also be savory! Try adding:
- Herbs: Chopped chives, parsley, or dill can add a fresh, savory flavor.
- Cheese: Shredded cheddar, Parmesan, or Gruyere can add a cheesy, savory element.
What is Another Name for Mini Pancakes?
Remember, you might be searching for recipes using other names, like silver dollar pancakes or tiny pancakes. No matter what you call them, the base recipe stays the same. It’s all about getting creative with the flavors and toppings!
Delicious Topping Ideas for Mini Pancakes
Okay, let’s talk toppings! This is where you can really let your creativity shine. Here are some of my favorite topping ideas for mini pancakes:
Classic Toppings:
- Maple Syrup: The all-time classic. Can’t go wrong with this one!
- Butter: Simple, yet delicious.
- Powdered Sugar: Adds a touch of sweetness and elegance.
Creative Combinations:
- Berry Compote and Whipped Cream: A fruity and decadent treat.
- Nutella and Sliced Bananas: A chocolatey and nutty delight.
- Peanut Butter and Jelly: A nostalgic favorite.
- Fried Chicken or Bacon: For a sweet and savory twist!
Homemade Syrups:
- Berry Syrup: Combine fresh or frozen berries with sugar and water in a saucepan. Simmer until the berries break down and the syrup thickens.
- Caramel Syrup: Melt sugar in a saucepan until it turns amber in color. Add butter and cream, and stir until smooth.
Non-Traditional Ideas:
Don’t be afraid to think outside the box! Try these non-traditional topping ideas:
- Whipped Cream and Sprinkles: A fun and festive option.
- Fruit Compotes: A delicious way to use up seasonal fruit.
- Nuts: Chopped nuts add a crunchy texture and nutty flavor.
A Discussion on Different Types of Syrups
When it comes to syrup, you have lots of options. Maple syrup is the classic choice, but there are also flavored syrups like blueberry, strawberry, and raspberry. You can even make your own syrup at home using fruit juice and sugar. Get creative and find your favorite!
Making Mini Pancakes Ahead of Time: Storage and Reheating

One of the best things about mini pancakes is that you can make them ahead of time! This is perfect for busy mornings or when you’re expecting guests. Here’s how to store and reheat them:
Storage Methods:
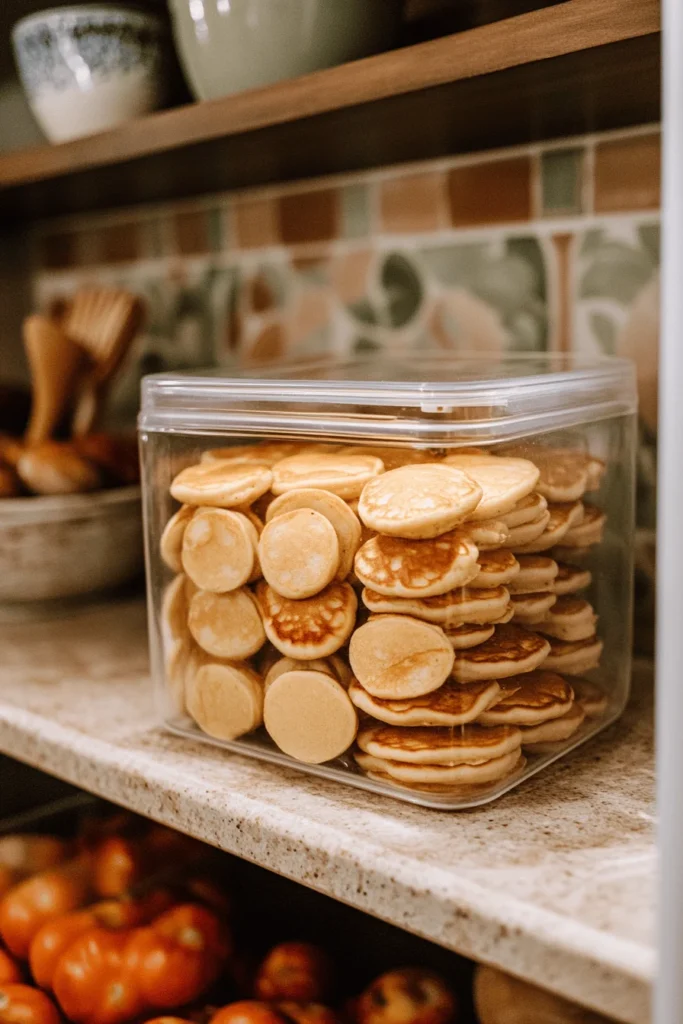
- Refrigerator: Store cooled pancakes in an airtight container in the refrigerator for up to 3 days.
- Freezer: For longer storage, freeze the pancakes. Place them in a single layer on a baking sheet and freeze until solid. Then, transfer them to a freezer bag or airtight container. They can be stored in the freezer for up to 2 months.
Reheating Instructions:
- Microwave: Reheat pancakes in the microwave for 10-20 seconds per pancake.
- Oven: Preheat the oven to 350°F. Place the pancakes on a baking sheet and heat for 5-10 minutes.
- Toaster: Toast the pancakes in a toaster on a low setting until heated through.
Preventing Soggy Pancakes
To prevent your pancakes from becoming soggy during storage or reheating, make sure they are completely cooled before storing them. When reheating, avoid overcooking them, as this can make them tough and dry.
Different Container Types for Storage
To avoid freezer burn, use airtight containers or freezer bags to store your pancakes. You can also wrap them individually in plastic wrap before placing them in a container. This helps prevent them from sticking together and keeps them fresh.
Troubleshooting Common Mini Pancake Problems
Even with the best recipe, sometimes things can go wrong. Here are some common mini pancake problems and how to fix them:
- Flat Pancakes: This can be caused by using old baking powder or overmixing the batter. Make sure your baking powder is fresh, and don’t overmix the batter.
- Burnt Pancakes: This is usually due to cooking over too high of heat. Lower the heat and cook the pancakes slowly.
- Tough Pancakes: This is often caused by overmixing the batter. Mix until just combined, and don’t worry about a few lumps.
- Uneven Cooking: This can be due to an unevenly heated cooking surface. Make sure your griddle or pan is preheated evenly before adding the batter.
Detailed Troubleshooting Tips
- Problem: Flat Pancakes
- Possible Cause: Old baking powder, overmixing
- Solution: Use fresh baking powder, mix until just combined
- Problem: Burnt Pancakes
- Possible Cause: High heat
- Solution: Lower the heat, cook slowly
- Problem: Tough Pancakes
- Possible Cause: Overmixing
- Solution: Mix until just combined
- Problem: Uneven Cooking
- Possible Cause: Unevenly heated surface
- Solution: Preheat evenly
The Importance of a Good Non-Stick Pan
A good non-stick pan is essential for making perfect mini pancakes. It prevents the pancakes from sticking and burning, and it makes cleanup a breeze. If you don’t have a non-stick pan, you can use a regular pan, but be sure to grease it well with butter or oil.
Mini Pancake Recipes from Around the World
Let’s take a culinary trip around the world and explore some mini pancake variations from different cultures:
Dutch Poffertjes: These are small, fluffy pancakes made with yeast and buckwheat flour. They’re often served with butter and powdered sugar.
Japanese Souffle Pancakes: These are incredibly light and airy pancakes that are steamed to perfection. They’re often served with whipped cream and fruit.
Dutch Poffertjes Recipe (Simplified)
Ingredients:
- 1 cup all-purpose flour
- 1 teaspoon instant yeast
- 1 tablespoon sugar
- 1/4 teaspoon salt
- 1 cup milk
- 1 egg
- 2 tablespoons melted butter
Instructions:
- Combine dry ingredients.
- Add wet ingredients, mix until just combined.
- Let rest for 30 minutes.
- Cook on a poffertjes pan or griddle.
A Brief History about Pancakes from Different Countries
Pancakes have a rich history in many different cultures. In France, they have crepes. In Ethiopia, they have injera. All around the world, different types of pancakes are enjoyed with local variations in the ingredients and preparation. It’s fascinating to see how such a simple dish can be adapted to suit different tastes and traditions!
Conclusion
So there you have it – the ultimate guide to making perfect mini pancakes! From gathering your ingredients to mastering the cooking process, you now have all the knowledge you need to create these delightful treats at home. Remember, the key is to have fun and experiment with different flavors and toppings. Don’t be afraid to try new things and put your own spin on this classic dish.
Whether you’re making them for breakfast, a snack, or a special occasion, I hope these mini pancakes bring joy to your table. Now go ahead, get in the kitchen, and start creating some pancake magic! And don’t forget to share your creations with me – I can’t wait to see what you come up with!
