Table of Contents
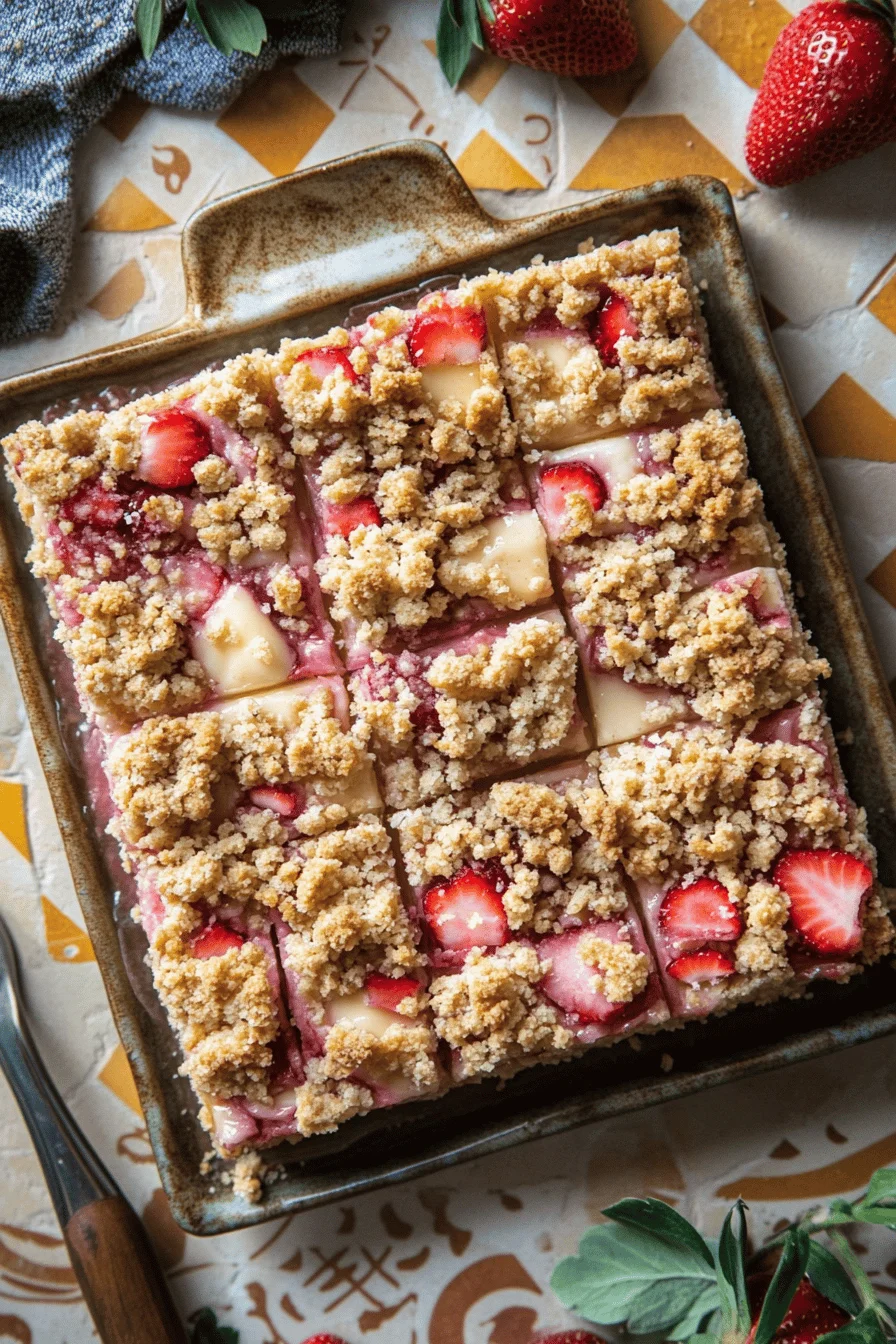
These Rhubarb Cheesecake Dream Bars combine the creamy richness of cheesecake with the tartness of rhubarb, creating a dessert that’s both comforting and refreshing. I’ve always loved baking, but sometimes I want something that’s impressive without being overly complicated. That’s where these dream bars come in! This guide offers a detailed walkthrough, from choosing the right rhubarb to perfecting the bake, ensuring everyone can create these delightful treats at home. They’re perfect for a summer gathering, a potluck, or even just a special treat for the family. They’re also a great way to use up any extra rhubarb you might have growing in your garden. Get ready to bake up a batch of these delicious Rhubarb Cheesecake Dream Bars!
Understanding Rhubarb for Baking Dream Bars
So, you’re ready to make some Rhubarb Cheesecake Dream Bars, but let’s talk rhubarb first! This section will cover everything you need to know about selecting and preparing rhubarb for the best possible results in your baked goods. We’ll dive into the different varieties and how their tartness can affect your recipe. Believe me, knowing your rhubarb is half the battle!
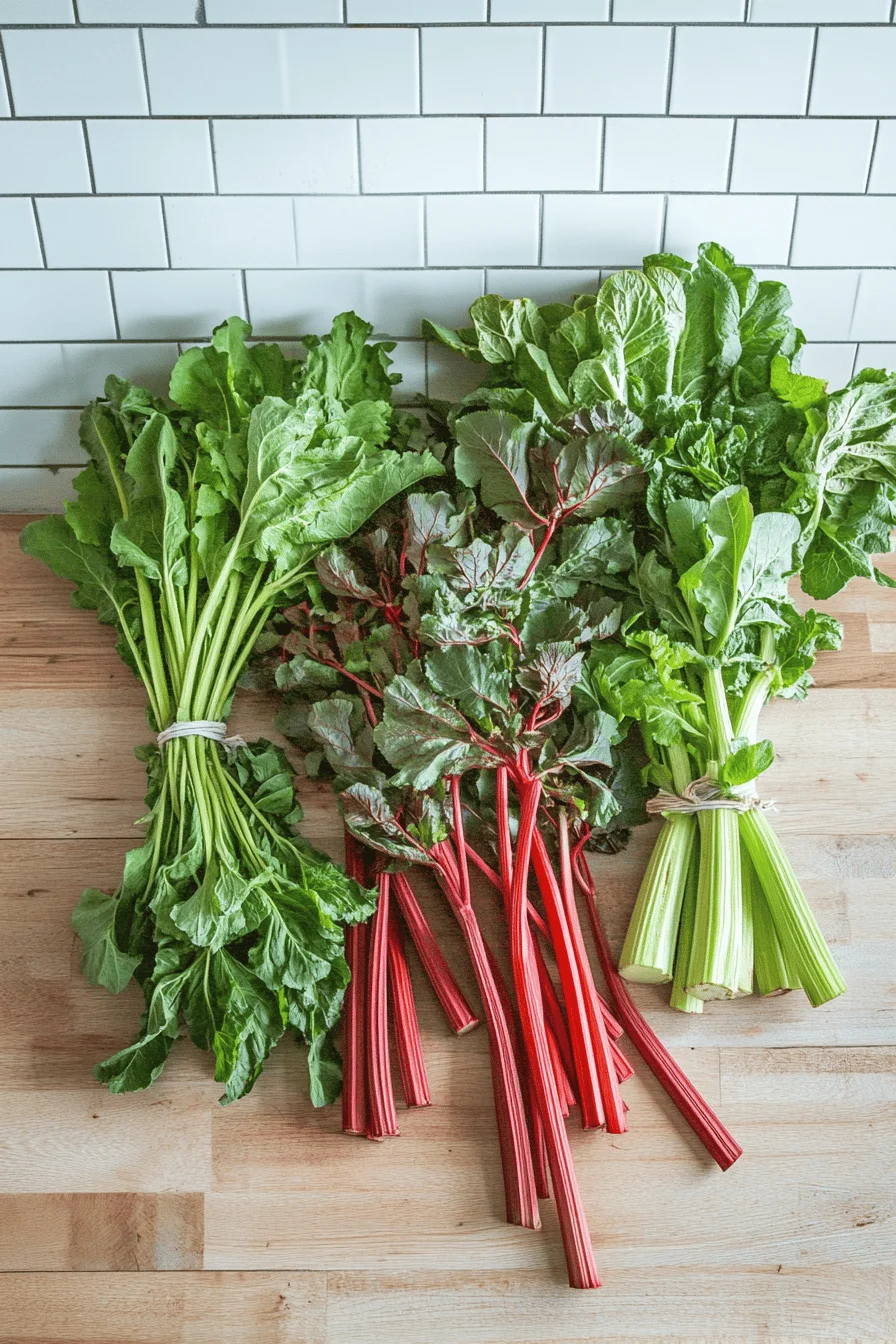
Rhubarb can vary quite a bit depending on the variety. You might find Victoria rhubarb, which is a common type with green stalks and red flecks. Canada Red is another popular choice, known for its vibrant red color and slightly more intense tartness. The color of the stalk doesn’t always dictate the flavor, but generally, the redder the stalk, the fruitier the taste. Keep in mind that the leaves are toxic and should always be discarded. Never cook or eat the leaves.
When you’re at the store or farmer’s market, look for stalks that are firm, crisp, and not too thin. Avoid any that are limp or bruised. Thicker stalks tend to be juicier and more flavorful. Fresh rhubarb will give you the best results for your Dream Bars, so try to use it when it’s in season.
What’s the best thing to do with rhubarb? Well, besides making these amazing dream bars, rhubarb is incredibly versatile! It can be used in pies, jams, sauces, and even savory dishes. But let me tell you, Rhubarb Cheesecake Dream Bars are an ideal way to use fresh rhubarb because they perfectly balance the rhubarb’s tartness with the sweet, creamy cheesecake filling. It’s a match made in dessert heaven!

Crafting the Perfect Crust
A good crust is the foundation of any great dessert bar, and these Rhubarb Cheesecake Dream Bars are no exception. In this section, we’ll explore how to make a crust that’s sturdy, flavorful, and perfectly complements the rhubarb and cheesecake layers. Trust me, a soggy crust can ruin the whole experience, so let’s get it right!
The most common choice for a crust is a classic graham cracker crust. It’s simple to make and provides a nice, slightly sweet base. But don’t feel limited! You can also use a shortbread crust for a buttery, melt-in-your-mouth texture, or even a gingersnap crust for a bit of spice. I’ve even used crushed vanilla wafers in a pinch, and they worked great.
To avoid a soggy crust, there are a few tricks you can use. First, make sure your crust ingredients are well combined. For a graham cracker crust, that means mixing the crumbs, melted butter, and sugar thoroughly. Press the mixture firmly into the bottom of your baking pan. This compacts the crust and helps it hold its shape.
Blind baking the crust is another essential step for a truly crisp base. This involves baking the crust before adding the filling. To blind bake, press the crust into your pan, then line it with parchment paper and fill it with pie weights or dried beans. This prevents the crust from puffing up during baking. Bake at 350°F (175°C) for 10-12 minutes, then remove the weights and parchment and bake for another 5 minutes, or until lightly golden. This ensures your crust is perfectly crisp and ready to handle the creamy filling and rhubarb topping.
Cheesecake Filling Essentials
The cheesecake filling is the heart of these Rhubarb Cheesecake Dream Bars. It needs to be creamy, smooth, and perfectly balanced in sweetness. In this section, we’ll cover all the essentials for creating a flawless cheesecake filling that will have everyone coming back for more.
The key to a smooth, lump-free cream cheese filling is to start with room temperature cream cheese. Seriously, don’t skip this step! Cold cream cheese will not blend properly and will leave you with a lumpy filling. To quickly soften cream cheese if you forget to take it out, you can cut it into small cubes and let it sit at room temperature for about 30 minutes, or microwave it in 15-second intervals, checking frequently to make sure it doesn’t melt.
When mixing the filling, use an electric mixer and beat the cream cheese until it’s light and fluffy. Gradually add the sugar, mixing until just combined. Overmixing can incorporate too much air, which can cause the cheesecake to crack during baking. Add the eggs one at a time, mixing until just combined after each addition. Finally, stir in any flavorings, such as vanilla extract.
Speaking of flavorings, don’t be afraid to experiment! A little lemon zest can add a bright, citrusy note, while a dash of almond extract can enhance the creamy flavor. I sometimes add a tablespoon of sour cream or Greek yogurt for extra tanginess. Just remember to keep the additions subtle so they don’t overpower the other flavors.
Making the Rhubarb Topping
The rhubarb topping is what gives these dream bars their signature tartness and vibrant flavor. Getting the topping just right is crucial for balancing the sweetness of the cheesecake filling. In this section, we’ll explore the techniques for creating a rhubarb topping that’s perfectly cooked, flavorful, and not too watery.
Rhubarb can be quite juicy, so it’s important to control its moisture content during cooking. One way to do this is to chop the rhubarb into small pieces and let it sit in a colander for about 30 minutes to drain off any excess juice. You can also gently squeeze the rhubarb with a clean kitchen towel to remove even more moisture.
Cornstarch is essential for thickening the rhubarb topping. Without it, the topping will be too runny and will make the bars soggy. Mix the cornstarch with a little cold water to create a slurry, then stir it into the rhubarb mixture while it’s cooking. This will help the topping thicken up nicely.
As for whether the topping should be bubbling before you pull it off the stove to assemble the recipe, the answer is yes! You want the topping to be thick and glossy. Cook the rhubarb mixture over medium heat, stirring constantly, until it thickens and the rhubarb is tender. This usually takes about 5-7 minutes. The topping should be bubbling gently, indicating that the cornstarch has activated and the mixture has thickened properly.
Assembling and Baking Your Dream Bars
Now that you’ve got your crust, cheesecake filling, and rhubarb topping ready, it’s time to assemble and bake these Rhubarb Cheesecake Dream Bars. This is where all your hard work comes together to create a beautiful and delicious dessert. In this section, we’ll go over the best methods for layering everything and tips on preventing cracks during baking.
The best way to layer the crust, cheesecake, and rhubarb is to start with the prepared crust. If you’ve blind-baked it, let it cool slightly before adding the filling. Pour the cheesecake filling evenly over the crust, spreading it to the edges. Then, spoon the rhubarb topping over the cheesecake filling, creating a swirl effect if you like. I sometimes like to reserve a bit of the topping to dollop on top after baking for an extra pop of color.
Chilling the crust prior to adding the rhubarb and cheesecake mixture is a great idea, especially if you live in a warmer climate. This helps the crust stay firm and prevents it from getting soggy. Place the crust in the freezer for about 15-20 minutes, or in the refrigerator for about 30 minutes, before adding the fillings.
To prevent cracks during baking, there are a few things you can do. First, don’t overmix the cheesecake filling. Second, bake the bars at a low temperature (325°F or 160°C). Third, place a pan of hot water on the rack below the bars. The steam from the water helps to keep the cheesecake moist and prevents it from drying out and cracking. I know it sounds like a lot of work, but trust me, it’s worth it for that perfect, crack-free cheesecake!
Baking Times and Temperatures: Getting it Just Right
Baking times and temperatures are crucial for achieving the perfect Rhubarb Cheesecake Dream Bars. Underbake them, and you’ll have a gooey mess. Overbake them, and you’ll end up with a dry, cracked cheesecake. In this section, we’ll discuss the ideal baking conditions and how to troubleshoot common baking problems.
The ideal baking temperature for these bars is 325°F (160°C). This low and slow approach helps to ensure that the cheesecake cooks evenly and doesn’t crack. The baking time will vary depending on your oven, but it’s usually around 45-55 minutes.
There are a few visual cues that indicate the bars are done. The edges should be set and lightly golden, and the center should have a slight jiggle. To check for doneness without disturbing the topping and causing the cheesecake to crack, gently shake the pan. If the center jiggles like jelly, it’s not done yet. If it jiggles slightly but seems mostly set, it’s ready.
One common baking problem is an undercooked center. If you find that the center of your cheesecake is still too soft after the recommended baking time, you can cover the bars with foil and continue baking for another 10-15 minutes. Another issue is a cracked top. This can be caused by overbaking or baking at too high of a temperature. To prevent this, make sure to bake the bars at 325°F (160°C) and use a water bath as described in the previous section.
Cooling and Cutting for Presentation
Cooling and cutting are the final steps in creating beautiful and delicious Rhubarb Cheesecake Dream Bars. How you cool and cut these bars can significantly impact their texture and appearance. In this section, we’ll cover detailed cooling instructions and tips for clean cutting.
Detailed cooling instructions are essential to prevent condensation and maintain the bar’s texture. Once the bars are done baking, turn off the oven and leave the oven door slightly ajar. Let the bars cool in the oven for about an hour. This allows them to cool down gradually and prevents them from cracking due to sudden temperature changes. After an hour, remove the bars from the oven and let them cool completely at room temperature. Then, cover them and refrigerate for at least 4 hours, or preferably overnight.
It’s essential to let the bars chill completely before cutting because it makes them easier to slice cleanly. Warm bars will be soft and crumbly, making it difficult to get neat slices.
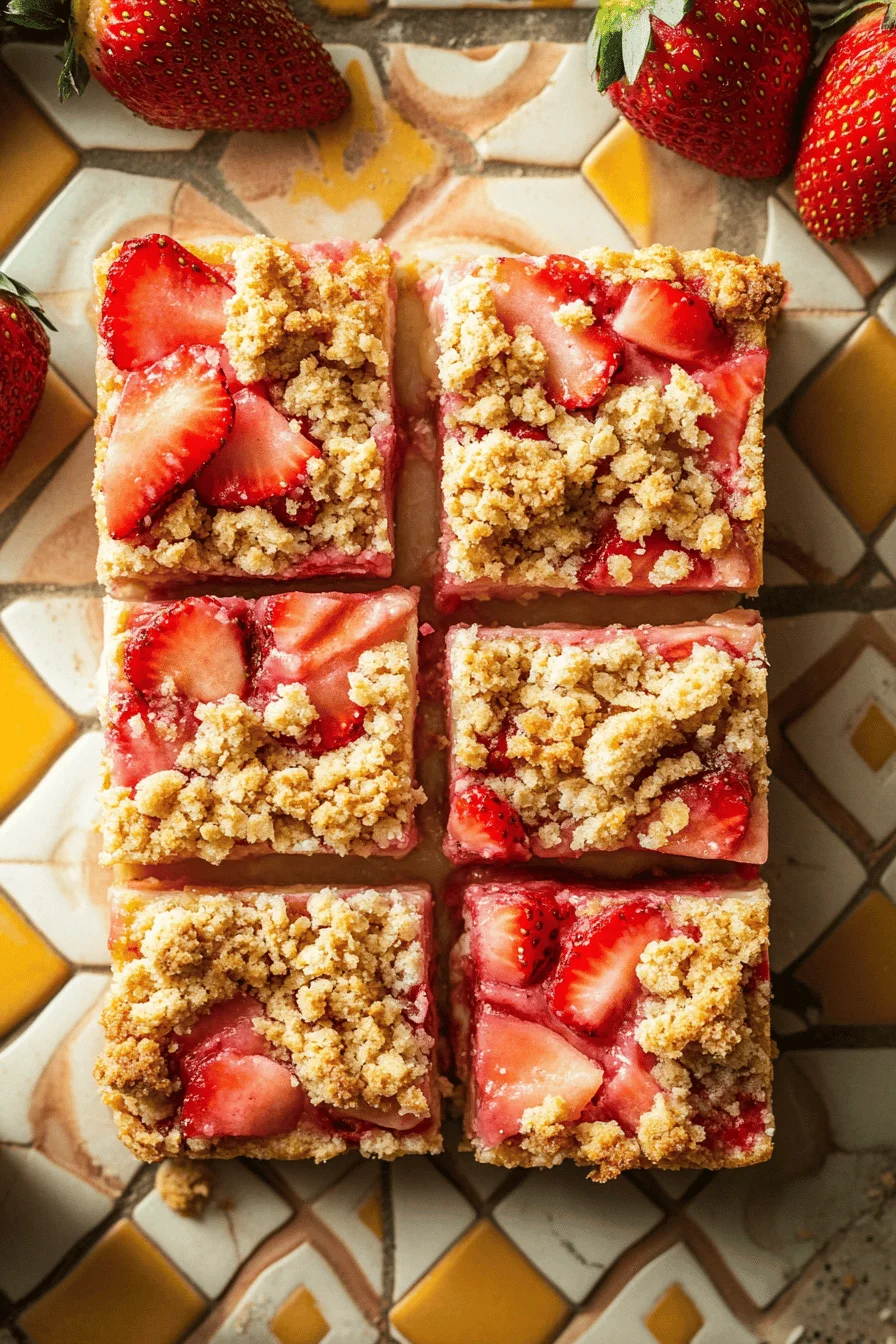
For clean cutting, use a warm knife. Run a long, sharp knife under hot water, then dry it thoroughly before each cut. This helps the knife glide through the bars without sticking. You can also use a thin spatula to lift the bars out of the pan after cutting for easier serving.
Storage and Freezing Tips
So, you’ve made a batch of Rhubarb Cheesecake Dream Bars – congratulations! Now, let’s talk about how to keep them fresh and delicious. In this section, we’ll cover the best practices for refrigerating and freezing these treats, so you can enjoy them for days (or even months) to come.
Rhubarb bars do need to be refrigerated. Due to the cream cheese content, these bars should be stored in the refrigerator to prevent spoilage. Cover them tightly with plastic wrap or store them in an airtight container. They will keep in the refrigerator for up to 5 days.
For longer storage, freezing is a great option. To freeze Rhubarb Cheesecake Dream Bars, cut them into individual squares and wrap each square tightly in plastic wrap. Then, place the wrapped squares in a freezer-safe bag or container. They can be frozen for up to 2-3 months. When you’re ready to eat them, thaw them in the refrigerator overnight.
Freezing can sometimes affect the texture of the cheesecake, making it slightly less creamy. However, they will still be delicious! To maintain quality, make sure to wrap the bars tightly to prevent freezer burn.
Rhubarb Cheesecake Dream Bar Variations
One of the best things about baking is the ability to experiment and create your own unique variations on classic recipes. These Rhubarb Cheesecake Dream Bars are no exception! In this section, we’ll offer some ideas for incorporating other fruits and adapting the recipe for different dietary needs.
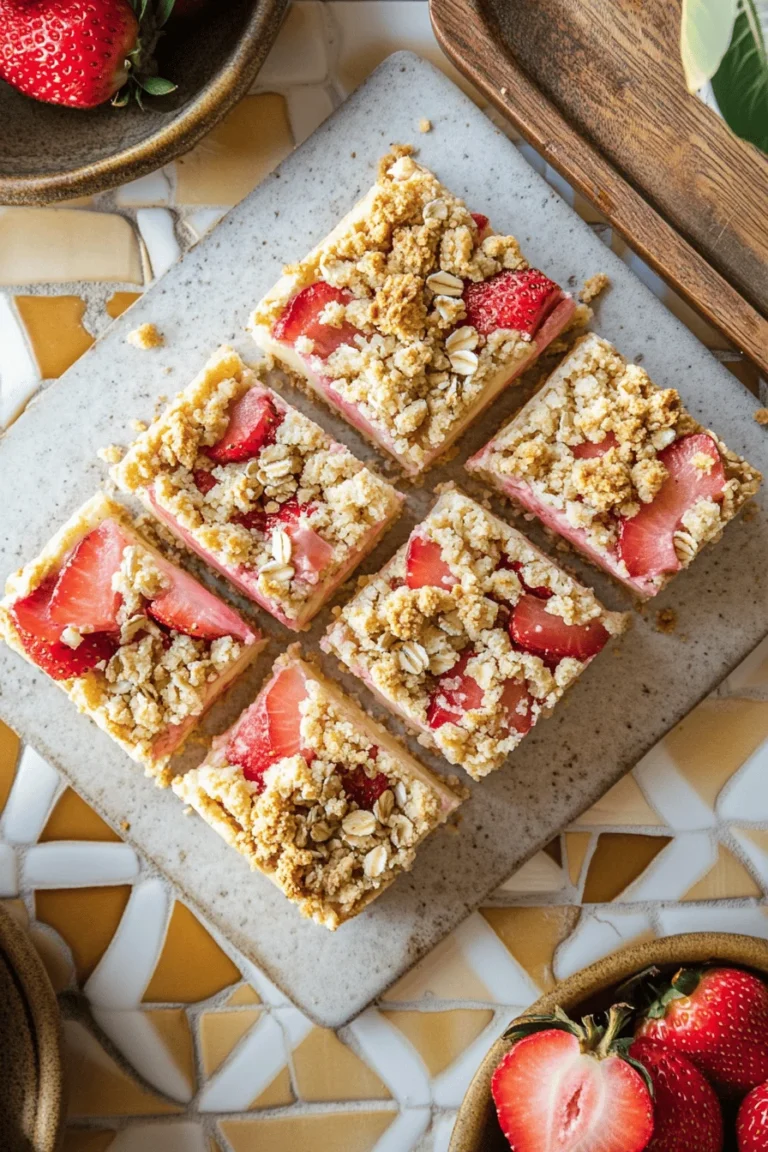
If you’re looking to add a twist to the rhubarb flavor, try incorporating other fruits. Strawberries and raspberries pair beautifully with rhubarb, adding sweetness and complementing its tartness. Simply add a cup of chopped strawberries or raspberries to the rhubarb topping when you’re cooking it.

For extra texture and flavor, you can easily add a crumble topping. Mix together flour, oats, butter, and sugar, then sprinkle it over the rhubarb topping before baking. This will create a delicious, crunchy layer that complements the creamy cheesecake and tart rhubarb.
Adaptations for different dietary needs are also possible. For a vegan version, you can use vegan cream cheese, a flax egg, and a vegan butter substitute. For gluten-free bars, use gluten-free graham crackers or a gluten-free flour blend for the crust and crumble topping. With a few simple swaps, everyone can enjoy these dream bars!
Pairing Suggestions for Rhubarb Dream Bars
To elevate your Rhubarb Dream Bar experience, consider pairing them with complementary drinks and toppings. The right pairing can enhance the flavors and create a truly memorable dessert experience. In this section, we’ll suggest some delightful combinations to try.
A glass of sparkling wine or prosecco is a wonderful accompaniment to these bars. The bubbles and slight acidity of the wine cut through the richness of the cheesecake and complement the tartness of the rhubarb. For a non-alcoholic option, try a refreshing herbal tea, such as chamomile or mint.
Serving with different toppings can also enhance the flavors of the bars. A dollop of whipped cream or a scoop of vanilla ice cream adds extra creaminess and sweetness. Fruit sauces, such as raspberry or strawberry, can also be drizzled over the bars for an extra burst of flavor.
As for what cheese goes with rhubarb, soft cheeses like mascarpone or crème fraîche are excellent choices. A small dollop of mascarpone on top of the bars adds a luxurious touch and complements the tartness of the rhubarb perfectly.
Conclusion
These Rhubarb Cheesecake Dream Bars are a delightful dessert suitable for any occasion. Whether you’re hosting a summer gathering, attending a potluck, or simply craving a sweet treat, these bars are sure to impress. I hope you feel armed with these tips and techniques. You’ll be able to create this treat with confidence. So gather your ingredients, preheat your oven, and get ready to bake up a batch of these irresistible dream bars. You won’t be disappointed!
Print
Rhubarb Cheesecake Dream Bars
Rhubarb Cheesecake Dream Bars combine the creamy richness of cheesecake with the tartness of rhubarb, creating a dessert that’s both comforting and refreshing.
- Total Time: Several hours (including cooling and chilling)
- Yield: Varies
Ingredients
- Graham cracker crumbs
- Melted butter
- Sugar
- Room temperature cream cheese
- Sugar
- Eggs
- Vanilla extract
- Rhubarb
- Cornstarch
- Cold water
Instructions
- Make the crust by mixing graham cracker crumbs, melted butter, and sugar. Press firmly into the bottom of your baking pan.
- Blind bake the crust at 350°F (175°C) for 10-12 minutes with pie weights, then another 5 minutes without weights until lightly golden.
- Prepare the cheesecake filling by beating room temperature cream cheese until light and fluffy. Gradually add sugar, then eggs one at a time, and finally vanilla extract.
- Make the rhubarb topping by chopping rhubarb into small pieces and draining excess juice. Cook with cornstarch slurry until thickened and bubbling.
- Pour the cheesecake filling over the cooled crust, then spoon the rhubarb topping over the filling.
- Bake at 325°F (160°C) for 45-55 minutes, or until the edges are set and the center has a slight jiggle.
- Let the bars cool in the oven with the door ajar for an hour, then cool completely at room temperature. Refrigerate for at least 4 hours or overnight.
- Cut into squares using a warm knife for clean slices.
Notes
You can use a shortbread crust for a buttery texture, or a gingersnap crust for a bit of spice., Blind baking the crust prevents a soggy base., Adding a pan of hot water on the rack below the bars can help prevent cracks during baking.
- Prep Time: Varies
- Cook Time: 45-55 minutes
- Category: Dessert
- Cuisine: American
Nutrition
- Serving Size: 1 bar
- Calories: Varies
- Fat: Varies
- Carbohydrates: Varies
- Protein: Varies
Keywords: Rhubarb Cheesecake Dream Bars
